6-10-2001
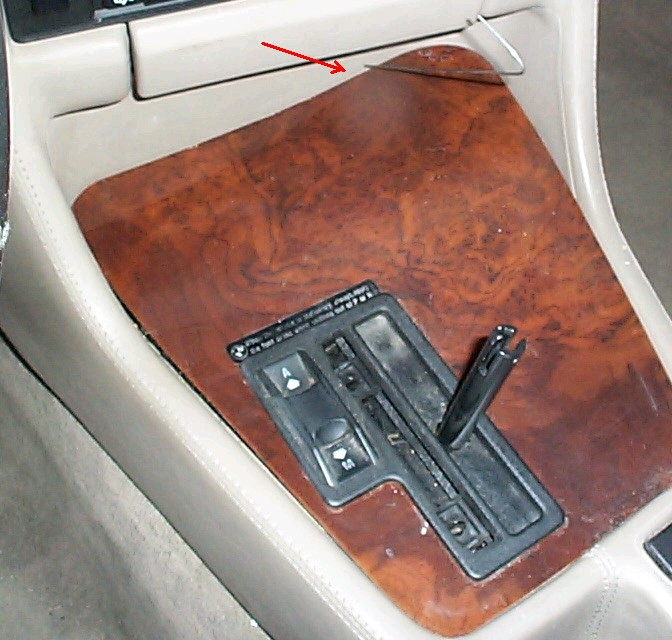
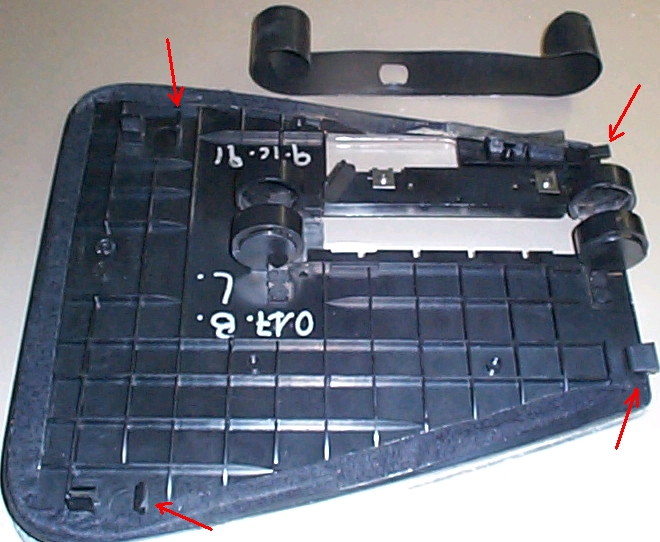
Console Removal: remove the shift knob set screw in the back of the knob with a 3 mm allen wrench & pull the knob straight up. Take a look at how the plunger is installed on the pin on the release lever & take note of it for later reassembly. Make a wire hook & slide it into the crack in the front of the console & lift it up Photo-1a & Photo-1b. The console tilts up Photo-2a as if it's hinged on the rear edge, note clips on Photo-2b. To remove the center black plastic insert, pry out the narrow P-R-N-D-3-2-1 plastic strip with a shop knife Photo-3a and remove the two phillips screws, Photo-3b. I later discovered that this step isn't necessary for removing the wood panel.
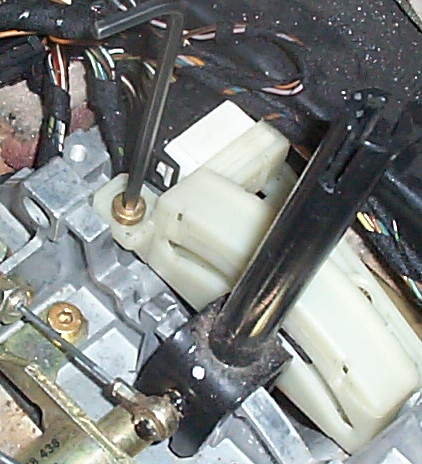
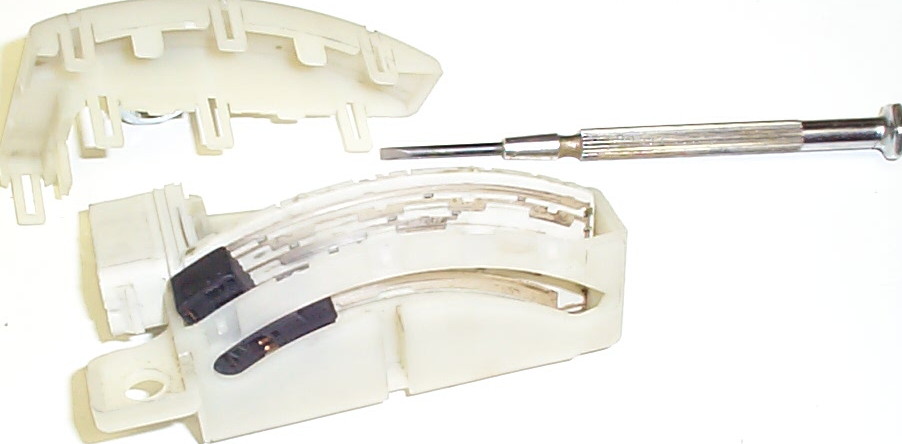
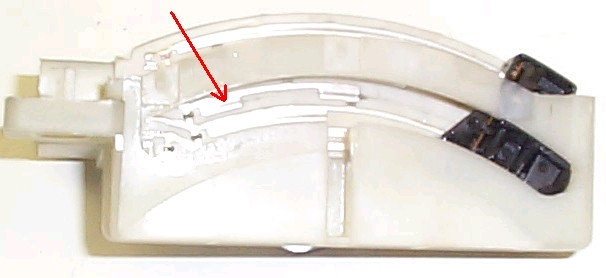
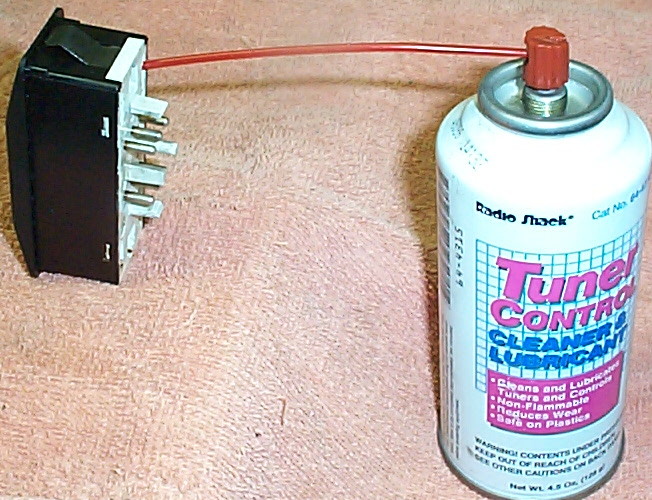
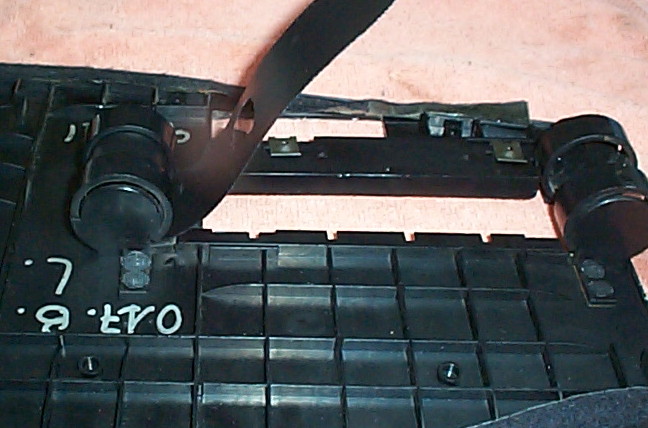
Disappearing or Momentary Shift Indicator LED in gauge cluster: Unless the LED is burned out (unlikely) they can be restored by cleaning the shift selector contacts. Remove the switch (set the handbrake & position the shift lever vertical, I think that's in neutral) Photo-4. Pry the switch open & clean the traces. I used 1000 grit ultra fine sandpaper with a little WD-40 & then cleaned it well & sprayed contact cleaner/lube on it. Photo-5a & Photo-5b. Bentley states this switch could be the cause of transmission problems as well:
Excerpt from Bentley's pg. 250-4:
"A faulty gear position/start disable switch may cause transmission shifting problems and erratic transmission operation"
I also know from experience that disabling the shift lock solenoid (92 & newer) will cause the dreaded "Trans Program" fault in the check control.
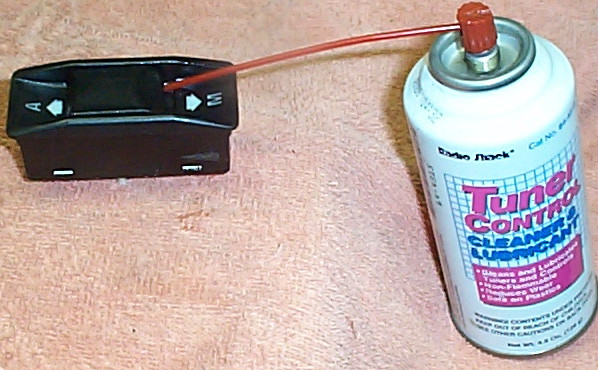
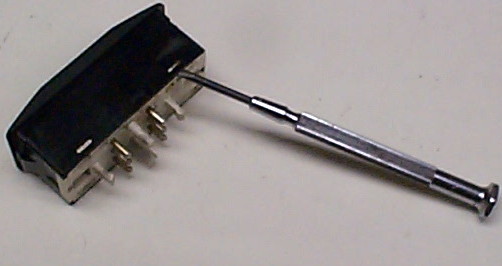
A/M switch: you might not need to open the switch, simply spray contact cleaner into it Photo-6a & Photo-6b & slide it back & forth rapidly a few dozen times. You may get by with doing this with the entire console intact & not have to disassemble anything at all. If you do need to open it to do a better cleaning job, pry the cover off with several small screwdrivers Photo-6c. Do this inside a plastic bag so small parts don't go flying across the garage. I haven't had to open mine so don't have any jpegs of the innards, "if it aint broke, don't fix it." If only removing the A/M switch, it can be pryed out without removing the console at all.
Plastic Shift Gate: sliding cover strip, ref. Photo-3c. Rather than buying the OEM rippled style from the dealer which will jamb or break again in a few months, I made one from a black poly leathergrain notebook cover, it's been working fine for almost 2 years Photo-7a. Cut it about 1.375" wide by about 14" long. Cut the hole for the shift lever mid-way along the length, with the hole offset from the side, about 7/16" from the edge of the strip to the edge of the hole, ref. Photo-7b. Cut a narrow taper on the ends & pre-curl the ends around a screwdriver. Install the strip with the hole offset further from the driver's side (left). Insert & roll the entire strip into one end, ref. Photo-7c. Slide it out into the grove & roll the other end into the other holder, position the hole at about the middle of the slot. Lube it with a little Armor-All to slide freely.
gale, 92 735i